Today I published my first book. It is currently up on Amazon. I really hope it does okay and people find it as fun to read as I did writing it.
https://www.amazon.com/dp/1981466878/ref=sr_1_15?ie=UTF8&qid=1516312459&sr=8-15&keywords=moonfall
Thursday, January 18, 2018
Saturday, January 7, 2017
A little update
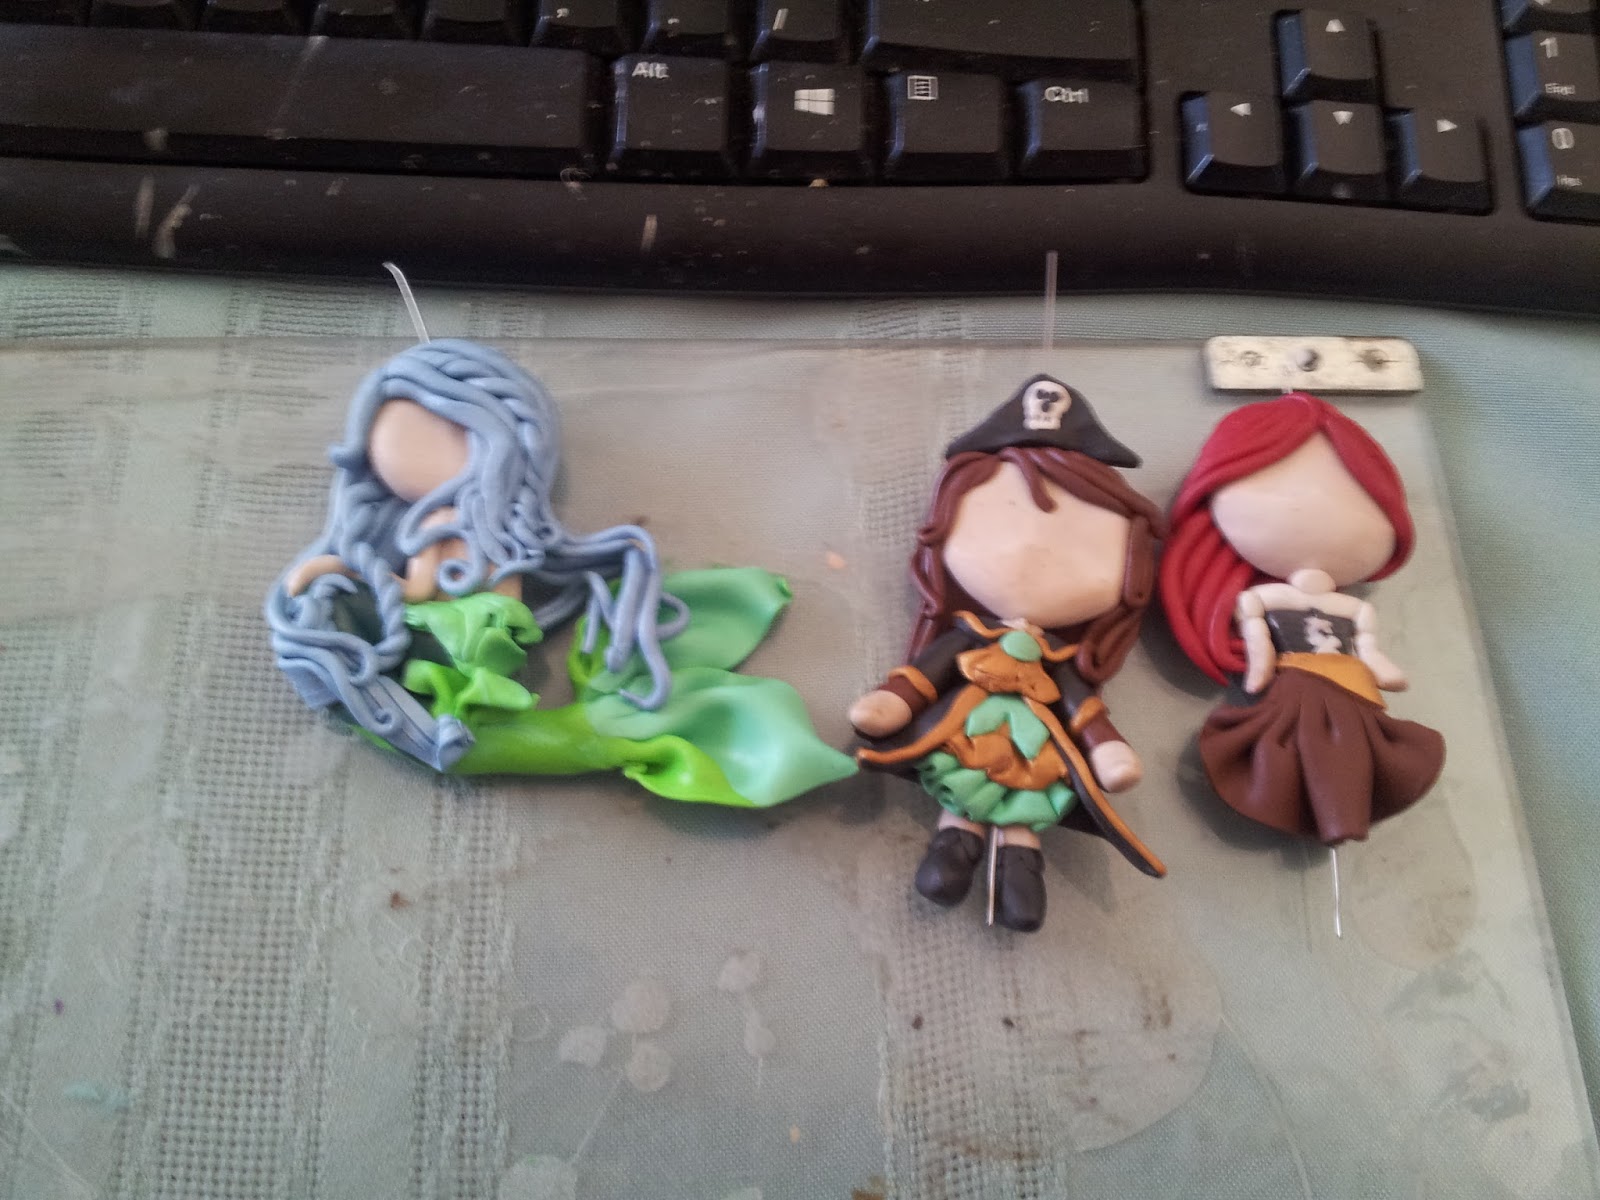
I've been working on a restock of my current charms. After that I"ll work on the new styles I want to do. For now this is where I am at. I have a long way to go.

Deviantart: http://kurisuteru.deviantart.com/
Twitter: https://twitter.com/oriadaya
Tumbler: http://omenswolf.tumblr.com/

As always I usually post updates on these sites as well.
facebook: https://www.facebook.com/kristelskreationDeviantart: http://kurisuteru.deviantart.com/
Twitter: https://twitter.com/oriadaya
Tumbler: http://omenswolf.tumblr.com/
Wednesday, December 28, 2016
Inactivity.
Good Goods! I'm so sorry for the long gap of inactivity. I am very scatter brained and if I don't have a link in front of me or easilly accessible I forget about my pages. I'm so sorry.
I have been mostly keeping active on deviant art and Facebook lately.
I have a slew of stuff that's happened. Not just costuming but clay work and even art work. Yes I started trying to draw in January last year and I...actually seem ot be okay at it. Still a lot to learn.
Anyway, if you wish to see the current slew of activity I'll add all my other links here.
Deviantart: http://kurisuteru.deviantart.com/
facebook: https://www.facebook.com/kristelskreation
Twitter: https://twitter.com/oriadaya
Tumbler: http://omenswolf.tumblr.com/
The top two are my most active: Hopefully I'll be able to add store links in here in the future. Right now I'm still working on the fragility of my stuff. Its hard to ship fragile stuff.
Friday, September 25, 2015
Way too long...
I wasn't intending to be gone so long. Honest.
Life too a turn for the crazy.
I'm back now though as the dust settles.
And I didn't come empty handed. Unfortunately there isn't a construction aid this time, but I'll get around to one soon,
For now it's just updated images.
These charms will be sold at Emerald Valley Comic fest in eugene in two weeks.


They all still need detail work, but so far I like them.
How about you?
Wednesday, July 15, 2015
SIlence and Current events
As many of you noticed, I've been silent for a while. I'm sorry. Life took a downward turn. It's not too bad, but it is taking time for us to fix things. This also leaves me withint internet a good portion of the time or too busy to sit down and do a post.
We're trying to move, but we're in transition and staying in a tiny trailer on the family farm. It's chaotic.
That being said, I have an event to distract me this weekend.
Seadogs in Lebanon Or.
I'll have a few new things this weekend.

We're trying to move, but we're in transition and staying in a tiny trailer on the family farm. It's chaotic.
That being said, I have an event to distract me this weekend.
Seadogs in Lebanon Or.
I'll have a few new things this weekend.
There will also be many dragons. I wish I could have made more ,but this is it for now.
Tuesday, June 2, 2015
Horns, cheap and simple
For Dystopia Rising, sometimes a list of requested donations goes out. On that list this time was a request for horn that were light and big. You can defintely buy these, but sometimes the directors put things on the list for people to make.
One of the marshals who runs the costume area made a comment I couldn't ignore even though I'm trying not to take on crazy amounts of work right now. :P
Anyway, I sat down and fiddled around a bit. I wanted to make these as simply and cheaply as possible. D.R. already costs a ton to play.
What you'll need:
Toilet rolls tubes or any type or rolled tubes
Tape
Scissors
Modge Podge
Paper Towels
I started but cutting down the rolls into strips or roll. Once I had enough I began building the horns. This is a lot like putting togeather a puzzel but you sometimes have to modify the pieces so they'll fit inside each tube. Use the tape to connect your card board strips into smaller circles as you make the point. Just keep fitting them into eachother at an angle and curling the horn till you get a shape you like. Something like this first picture.

Once you're happy with the shape you can move onto the covering phase. You can't just jump right to painting as the card board will have huge gaps. By covering it with something like paper towel it'll fill in those gaps fairly well and give you a nice texture on the horns. I layed down a layer of modgepodge first. Then applied the torn up paper towels to the wet spot and covered that with more Modge Podge. I didn't repeat the whole layering here, but I'd recommend doing that just to make the horns stronger. Ttap the wet paper towel down into the rings a bit to accentuate the horn spirals a bit as you go. You'll have to let this dry over night before moving on to painting. Don't worry about the messy base yet. We'll get to that later. here they are with the modge podge all done.


Here's a pic of them after they've dried and had their first layer of paint. It's at this point you can get a bit fancy with the painting. Drybrushing, inking, etc. I just did a layer of brown for now. The right pic is them dry. YOu can see a bit of texturing and color splotching already.


This last part, connecting them to something, is always the hardest. I generally just use elastic. Just make sure you use a color that would disappear into your hair. This part is easy. Make a hole then add elastic. If you don't want them to move around much add knots on each side of the horn. Make sure you have them where you want them on your head.
Other ideas are to attach them to head bands. Or to use screws into wigs. etc.
As always have fun. if you have questions feel free to ask.
Friday, May 29, 2015
Another Dragon
Just a quickie post.
This guy just poped out of nowhere. I was mostly just playing with clay, trying to get rid of that brawn. No matter how much of it I use it just doesn't depreciate lol.
Overall he's cute, but I might do more painted detailing on him.


This guy just poped out of nowhere. I was mostly just playing with clay, trying to get rid of that brawn. No matter how much of it I use it just doesn't depreciate lol.
Overall he's cute, but I might do more painted detailing on him.


Subscribe to:
Posts (Atom)