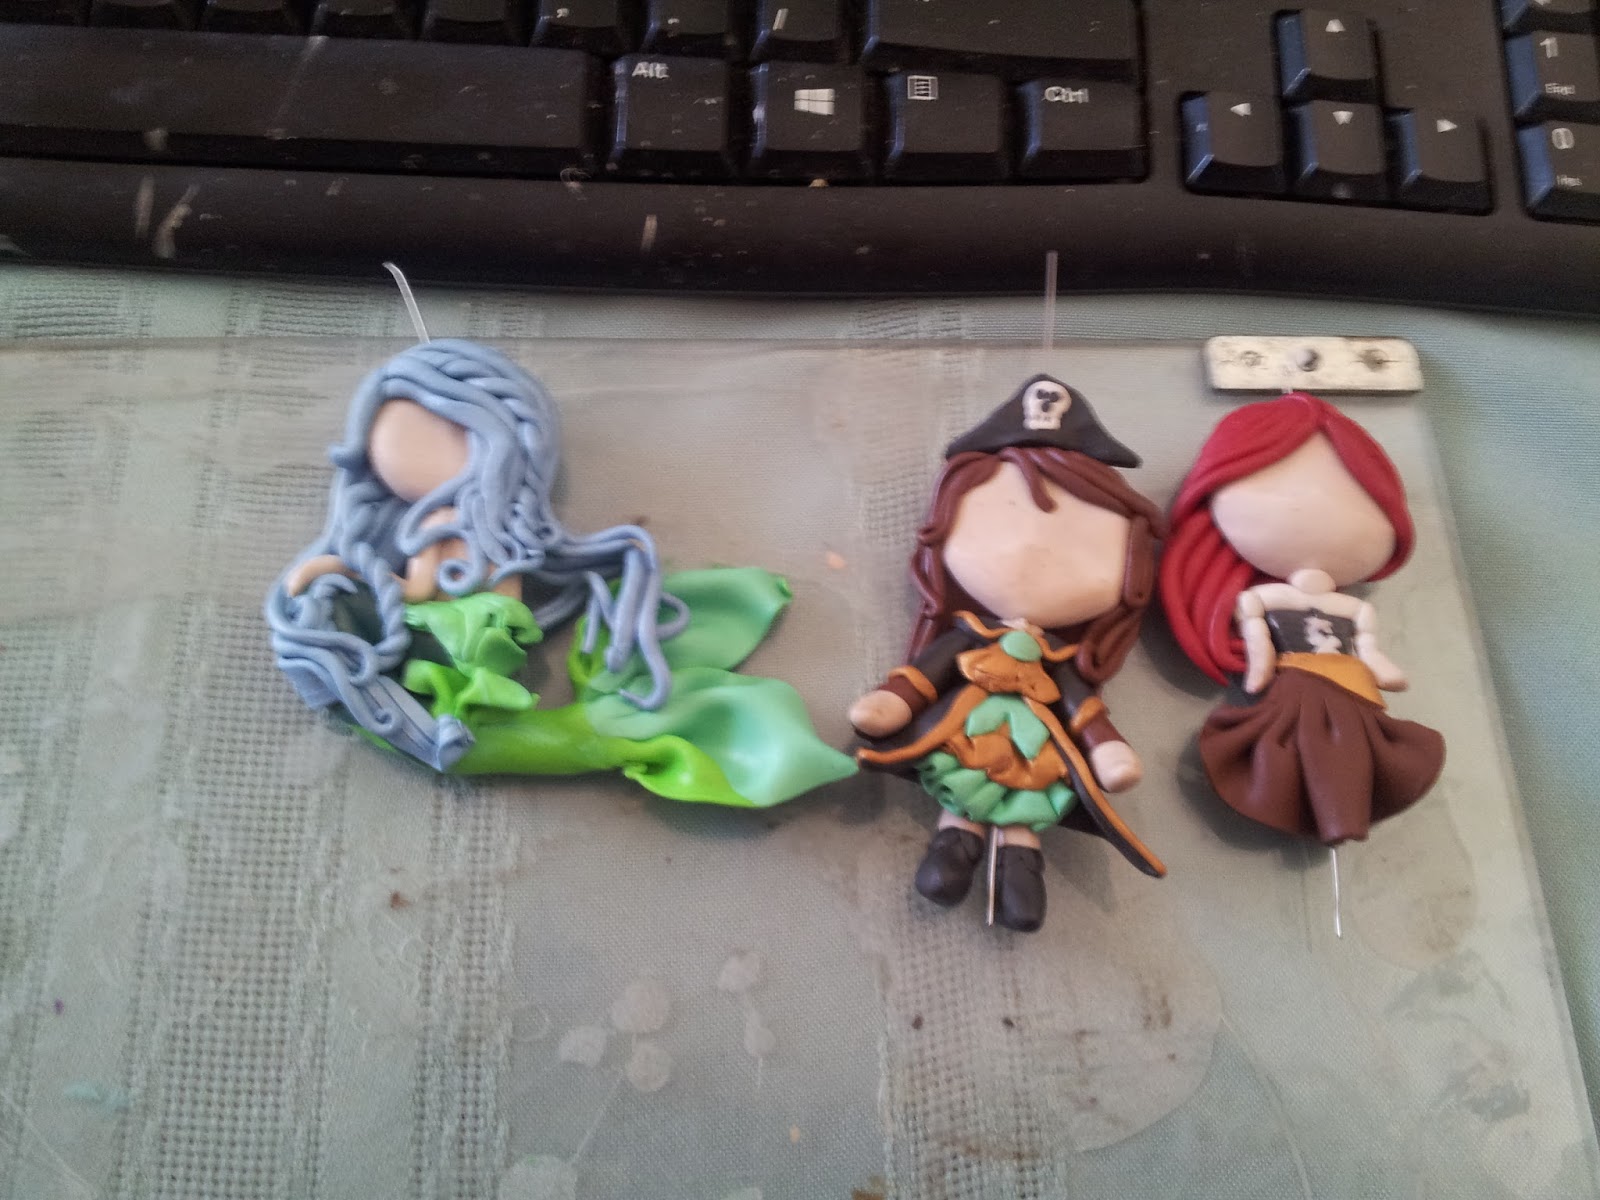
I've been working on a restock of my current charms. After that I"ll work on the new styles I want to do. For now this is where I am at. I have a long way to go.
As always I usually post updates on these sites as well.
As many of you noticed, I've been silent for a while. I'm sorry. Life took a downward turn. It's not too bad, but it is taking time for us to fix things. This also leaves me withint internet a good portion of the time or too busy to sit down and do a post.
We're trying to move, but we're in transition and staying in a tiny trailer on the family farm. It's chaotic.
That being said, I have an event to distract me this weekend.
Seadogs in Lebanon Or.
I'll have a few new things this weekend.
There will also be many dragons. I wish I could have made more ,but this is it for now.
Hello Everyone! I'm so sorry I've been absent for so long. I hope you weren't waiting too long. There are tons of great bloggers for crafts out there.
However, today I'm doing a post on making molds. There are many different ways to do this, but I'm doing silicone ones.
This is one of the myriad of videos I followed to make my putty with.
https://www.youtube.com/watch?v=aElFs2XsOHo
A quick search on youtube will bring up many more. It's fine to use one you're more comfortable with.
My ingredients/tools are:
Dap silicone100% silicone. It has to be 100% or things go wrong
Corn starch and a binder
oil. veggie oil is suggested, but i used penut oil. seemed to work the same
a tub to mix them in
and a mixing implement.
Things to make molds of
some sort of coloring agent if you don't want them to be white.
Now then. first a formost wear GLOVES! This crap is sticky. I probably did this round wrong, severly wrong. I also got the wrong color of silicone.
If you look closely my molds are cracking. I don't know where it went wrong but the drying process went really fast. That's not good when you wanna make a lot of molds.
Overall this is going to be a few parts post. At least untill I get this right. Not everything works out the first or even second time.
So keep an eye out as i try again.
Comments, questions, advice are always welcome. :)
SO I make dice bracelets a lot. Unfortunately this isn't going to be a how to. I'm gearing up for Seadogs in Lebanon Oregon this weekend and don't have time to make a post. Sorry.
I will however leave you with a few pics of my fave bracelets.
Feel free to ask questions, leave comments, etc. I"m always up for a chat!
In this post I'm trying something new. I keep seeing those focal pieces with the picture behind the glass bubbles. I have a big batch of them so I plan to make a few Game of Thrones House pendants.
What you'll need:
Round glass focal
Your design to be placed on the back
Cork for magnets
Moleskin for necklaces
Bails
E6000 glue
Modge Podge
necklace or cord for necklace
The first thing you need to do is print out your images. I used some Game of Thrones pictures. You need to size them to the focal you are using. The easiest way to do this is to place the focal over the image and trace around the focal as closely as you can. Once you cut out your circle glue it to the back somehow. Depending on your printer the image shouldn't smudge when you put Modge Podge over it.
To start with you want to use your glass cabochon to make a circle on your paper. Once you get that circle cut out (and may scavenge the rest of the image for more cabochons like i had to) you'll have to put Modge Podge on the back. I used a paint brush. Place the cabochon to you paper and use more Modge Podge on it to glue it in place. If you're getting a milkiness in your image place the whole thing paper down before repainting it and press, that'll push all the bubbles out and give you a clearer image.
The back will look something like this once its glued down and re-glued. It'll feel a bit plastic-like on the back, don't worry about it. If you have edges that didn't stay flat clip them with tiny scissors and do another gluing.
This is how they should turn out if you did everything right. How the image sits is up to you. It's all a matter of preference.
This is what you'll get if you scavenged the rest of the images. I made ones with the house sayings and ones with the house names. I have plans for another post on how to clear up the blank space, but really you can do anything there.
Other examples of images that came be used. I had some glass cabochon's left so I filled them. Then I discovered some of my metal backs left with their glass so I made a whole set of Sailor Scouts! I think I like the glass ones better because the glass magnifies the picture.
The last thing you'll need to do to these before finishing the backs is to attach bails so you can hang them on necklaces if you'd like. Bails are little metal pieces with a loop that you can use to make these into necklaces. They look like this. And a good, non-asian market, seller with a good price can be found here: https://www.etsy.com/transaction/208041901
You'll want to glue these on with E6000. In some cases it might have been best to glue them on first, but I'll have to experiment with that to say one way or the other. Give them a day to fully dry.
This is what mine looks like once I glued the bail on.
After you're happy with you pieces and your bails are glued on tight you can cover the backs with moleskin so nothing rubs on your skin. I've seen other do this with cork or regular cloth, but over all moleskin fabric or even scraps pieces of mirco suede is nicer on your skin.
This follows the same process of construction as the circles. Trace your glass cabochon, cut, and glue the piece on. Don't do a second outer layer of glue though. That'll take away the nice feeling of the fabric.
These glass cabochons can be anything from necklaces to magnets to whatever you want. You could even decorate an entire table with them, resin it over, and have something fun to look at. It's all up to you.
Feel free to ask questions, leave comments, etc. I"m always up for a chat!
If you don't know what these are you're possibly too young for quite a few things, or you spend too much time on a phone/computer/electronic device and what are you doing on my blog? I'm kidding. I live on my computer too. Don't worry. I assume if you are here you're looking for a craft. A simple one at that.
Well you can't get any simpler than Shrinky Dink charms. Seriously it's very simple. However it does take a little precision.
For the record this is a new craft to me. I had no idea what I was doing. Be WARNED: DO some research first. I'm still perfecting this as I go because I didn't look things up.
I had to learn the hard way:
to lighten up the brightness of my images or they bleed and get really dark when they shrink.
that if I want a certain size charm then I may need to make my images bigger.
that my printer hates the shrinky dink papers size that comes in the little Joann's craft refill packets.
touching the image will smudge it.
finding a proper sealer or it'll fade
Anyway, lets begin. Find a picture that maximizes your sheet of plastic.
I used a rip from the sailor moon games so I'd have little 8bit figures.
I then opened them in gimp cuz I'm too poor for photoshop lol and brightened the image. for me my chosen number was 111 but it might be different for you.
After brightnening the image I resized it till it looked like it would print. This might take some work on your part. Everyone's printer is different and I can't figure out how to set my margins for mine.
Once it was set to a decent size and I didn't feel like my printer would cut it off in a weird place I sent it to print.
A lot of people online will say you can only use this or that type, but I use the generic refill packets from Joann's crafts cuz it was the easiest to get a hold of. I'll be looking into finding bigger sheets though.
After it's printed you'll have to trim it. Make sure you hole punch first or your might make a mistake like I did and cut your edges too short leaving no room for a punch. With the punch already in it'll be easy to cut around it.
After all the trimming is done the heating can begin. Lay your pieces out on a baking sheet. For now I'm using a pizza sheet. Not such a great option really cuz the edges curve but it works. A flat sheet is best. Put a piece of paper on it and make sure your put your cut pieces with the rough side down or the plastic might stick to the paper.
As the pieces go in the over at 350 degrees you'll notice they'll curl in on themselves and even flip. Don't freak out this is all how it works lol.
When they look as flat as they'll get or they stop shrinking pull them out and try to get something heavy on top of them quick. I haven't managed to perfect this yet so mine still curl a bit. The baking part takes me about 1 maybe 2 minutes? However all ovens differ so play around.
When they are done a cooled then you can put little o rings on them for necklaces or what not.
Have fun!
As always, Feel free to ask questions, leave comments, etc. I"m always up for a chat!